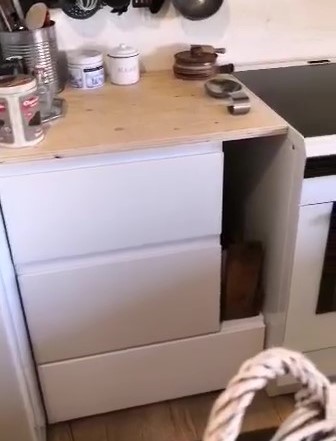
I did this one a little while ago, because I could not stand to look at the empty space in that corner anymore. It was screaming; help me – use me, and I just could not ignore it any longer. There was just a low shelf and open space and so the project, of the DIY kitchen countertop extension, came to life.
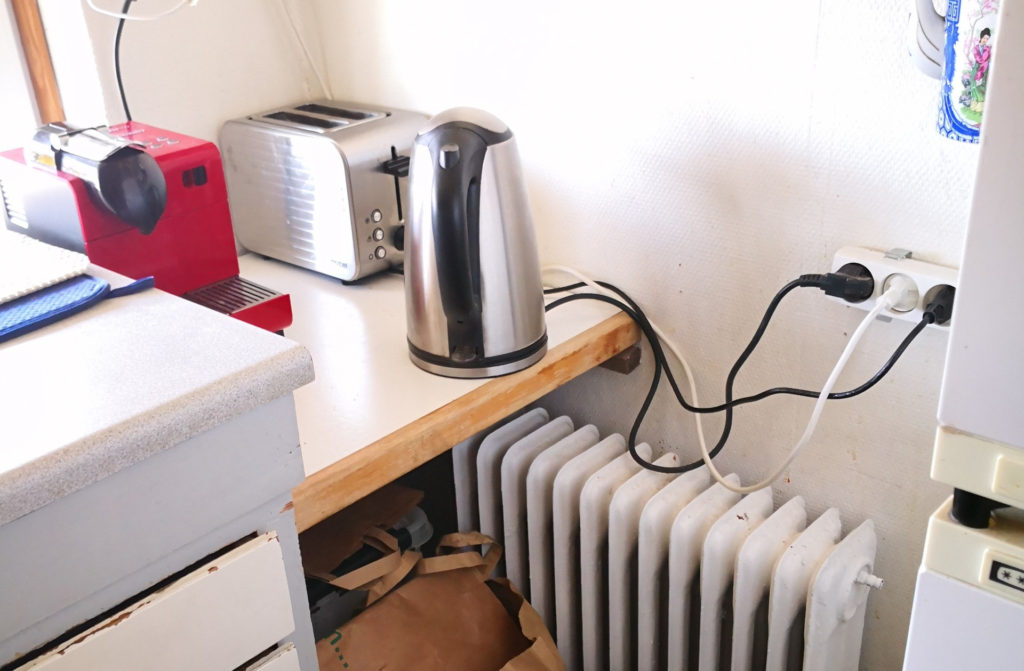
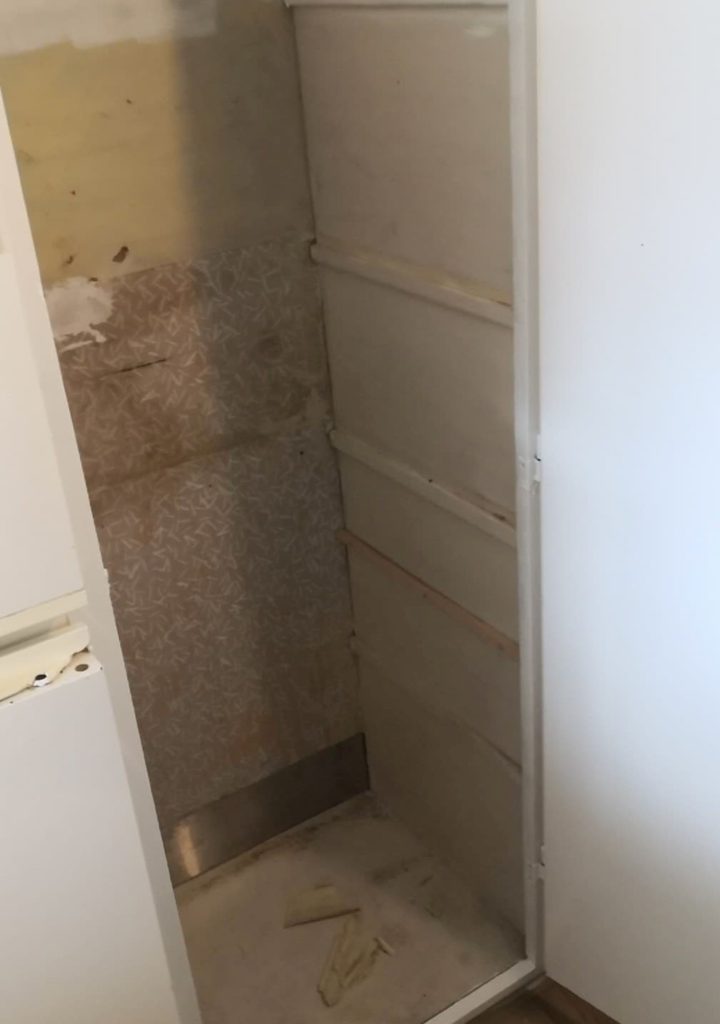
Before
We rent, and so are not in the position to do a lot of remodeling, and our old apartment sorely needs it. However we are lucky enough that our landlord does not mind it when we do little upgrades to the place. Indeed I think he prefers it. We have lived here for ten years now, and this little corner in the kitchen has bothered me for every bit of those ten years. (OK – full disclosure: all of the kitchen units needed help, as seen in the before picture, but the project was to be the workspace)
Ideas grow – they just do
I went back and forth with ideas. There was a freestanding fridge, with a microwave oven on top of it, on the right of that black hole, and I knew I would have to deal with that too. Additionally, I knew that starting on this particular project would spread like wildfire throughout my kitchen. It was old and tired, and needed love desperately. The kitchen units themselves were tired and weathered and in sore need of a lick of paint, and in two tones gray and once long long ago white. I knew that this little addition would stand out shiny and new and would lead to me having to paint all the kitchen units. But on I went.
Like I feared, the project of the little countertop extension had already grown into something that would include a unit around my fridge and microwave. Then I would extend the existing countertop right unto the unit. Because there is a radiator on the wall underneath where the new countertop would be, I couldn’t make any use of the space underneath, but at least I would get the extra countertop space.
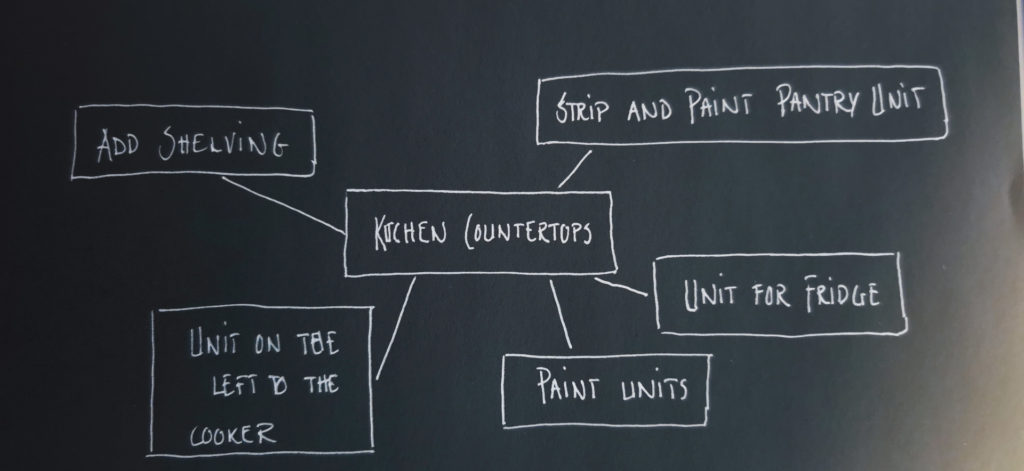
Like that isn’t enough of a project, because the pantry cabinet on the right side of the fridge was old and horrible, I needed to incorporate it too. I had been wanting to add some shelves there and paint it inside and out, that went on the already long list of projects. This is generally how any project of mine go. They grow, and grow a little more. I just try to keep up and go with it. My husband is very understanding, and by now never surprised.
The design & planning
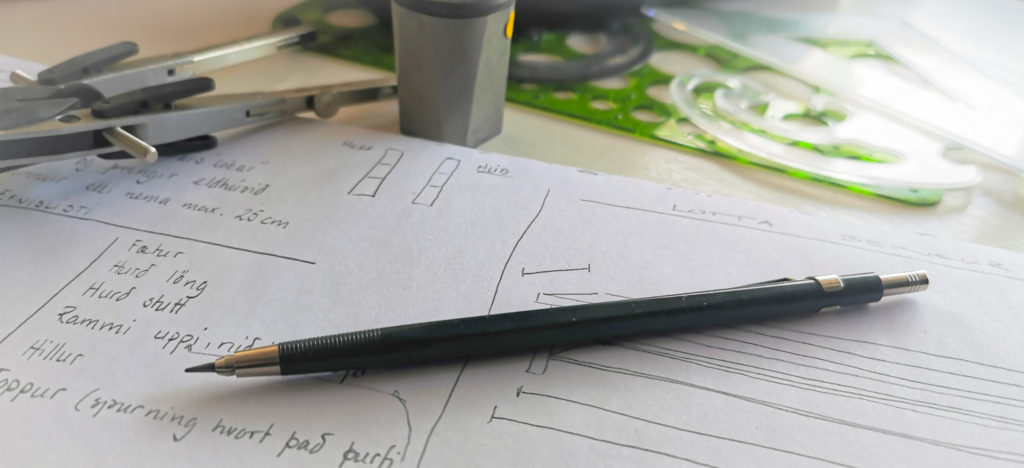
First, I measured and measured again. Usually I start with drawing sketches as I am a draftsman by trade (in addition to being a biologist). I find it helps me plan projects and get an overview of the cost. When it was all said and done I found that I already had most everything I needed because, you know, scrap wood hoarder.Trowing anything away when it comes to building materials is a mortal sin. The only thing I knew I had to buy were skirting boards for the countertop because the existing countertop (yes singular – it’s a small kitchen) has paneling, and the tile glue and mortar. Yes, glue and mortar, I’ll get to that.
Because we are talking about a really old kitchen, with an old Formica countertop, I knew it would be impossible to match it with anything I could buy today. We weren’t going to swap out everything so I needed to think outside the box. I decided to do something totally different and to do it on a really tight budget.
In my mind I wanted to do a mosaic countertop. I knew I could do simple tiles but I like the messiness of mosaic. If something stains or isn’t perfect that’s alright. I didn’t own any tiles so I took to Facebook Marketplace and soon found a woman wanting to give away around 7 m2 (75 ft2) of white tiles. I picked them up as well as the tile glue, mortar and skirting boards, and off we went.
More growing pains
Have I explained that projects grow all on their own? Well they do. Like weeds. Mine do anyway. In that old little kitchen I had a free standing electric stove/range/cooker (depending on from which side of the pond you are from). That did not have any countertops on either side to put things down on while cooking, so of course that needed fixing.
More planning and more headache. How to build a countertop without changing out or adding cabinetry to the right of it (would block the existing ones) and there was nothing on the left to build upon? On the left; a void. Challenge accepted. I had an salvage bathroom unit (new, but with a little damage, nothing I couldn’t work with). I would build a drawer unit under that from scratch and a half floating countertop on the right of the stove. Same kind of a mosaic countertop on every addition and that would actually tie everything together, and Voila!
Storage unit on the left of the stove made from a spare bathroom unit 
Storage underneath the unit
The build
Planning done so on to the tedious task, yet rewarding, of the build. I used a piece of I think 18 mm plywood (3/4”) I had left from an older project. Then I used a circular hand saw with railing guides to cut it to measure. and a miter saw to cut all the pieces for the frame or the support for the new countertop (45x55mm). Fastened the frame to the wall (using 50 mm screws) as well as the existing kitchen units and to the new unit I had already built for the old fridge with 35mm wood screws. Boring you yet?
Well, the short story is that I used what was on hand to build the frame and the base for the tiling. It kind of is important to remember to measure at least twice and cut once in these kinds of projects. Take your time and prepare as well as do your best. Nothing is incorrect, it’s just a lesson for next time. Below you’ll find a gallery of my progress through this project, that at time seemed to be endless. Believe me even though I love DIY I sometimes get overwhelmed when I’m in the middle of them. Below that, there is some more nitty gritty description of the work, as well as a final result reveal.
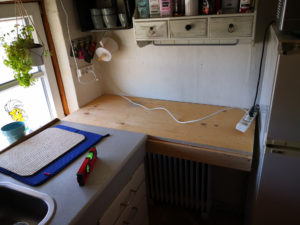
Kitchen workspace stage 1 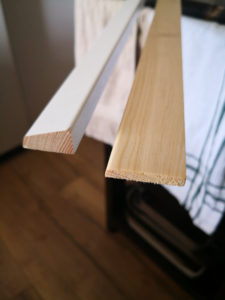
Skirting boards 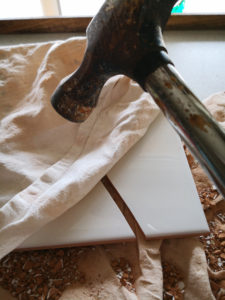
Breaking tiles 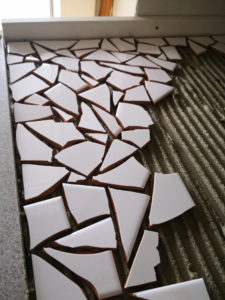
Mosaic in the making 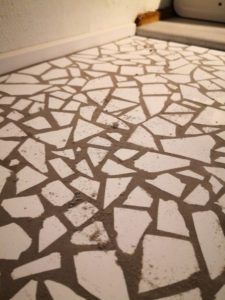
Grouting the mosaics 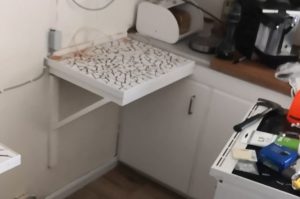
Side countertop addition
Cupboard before – I know gross 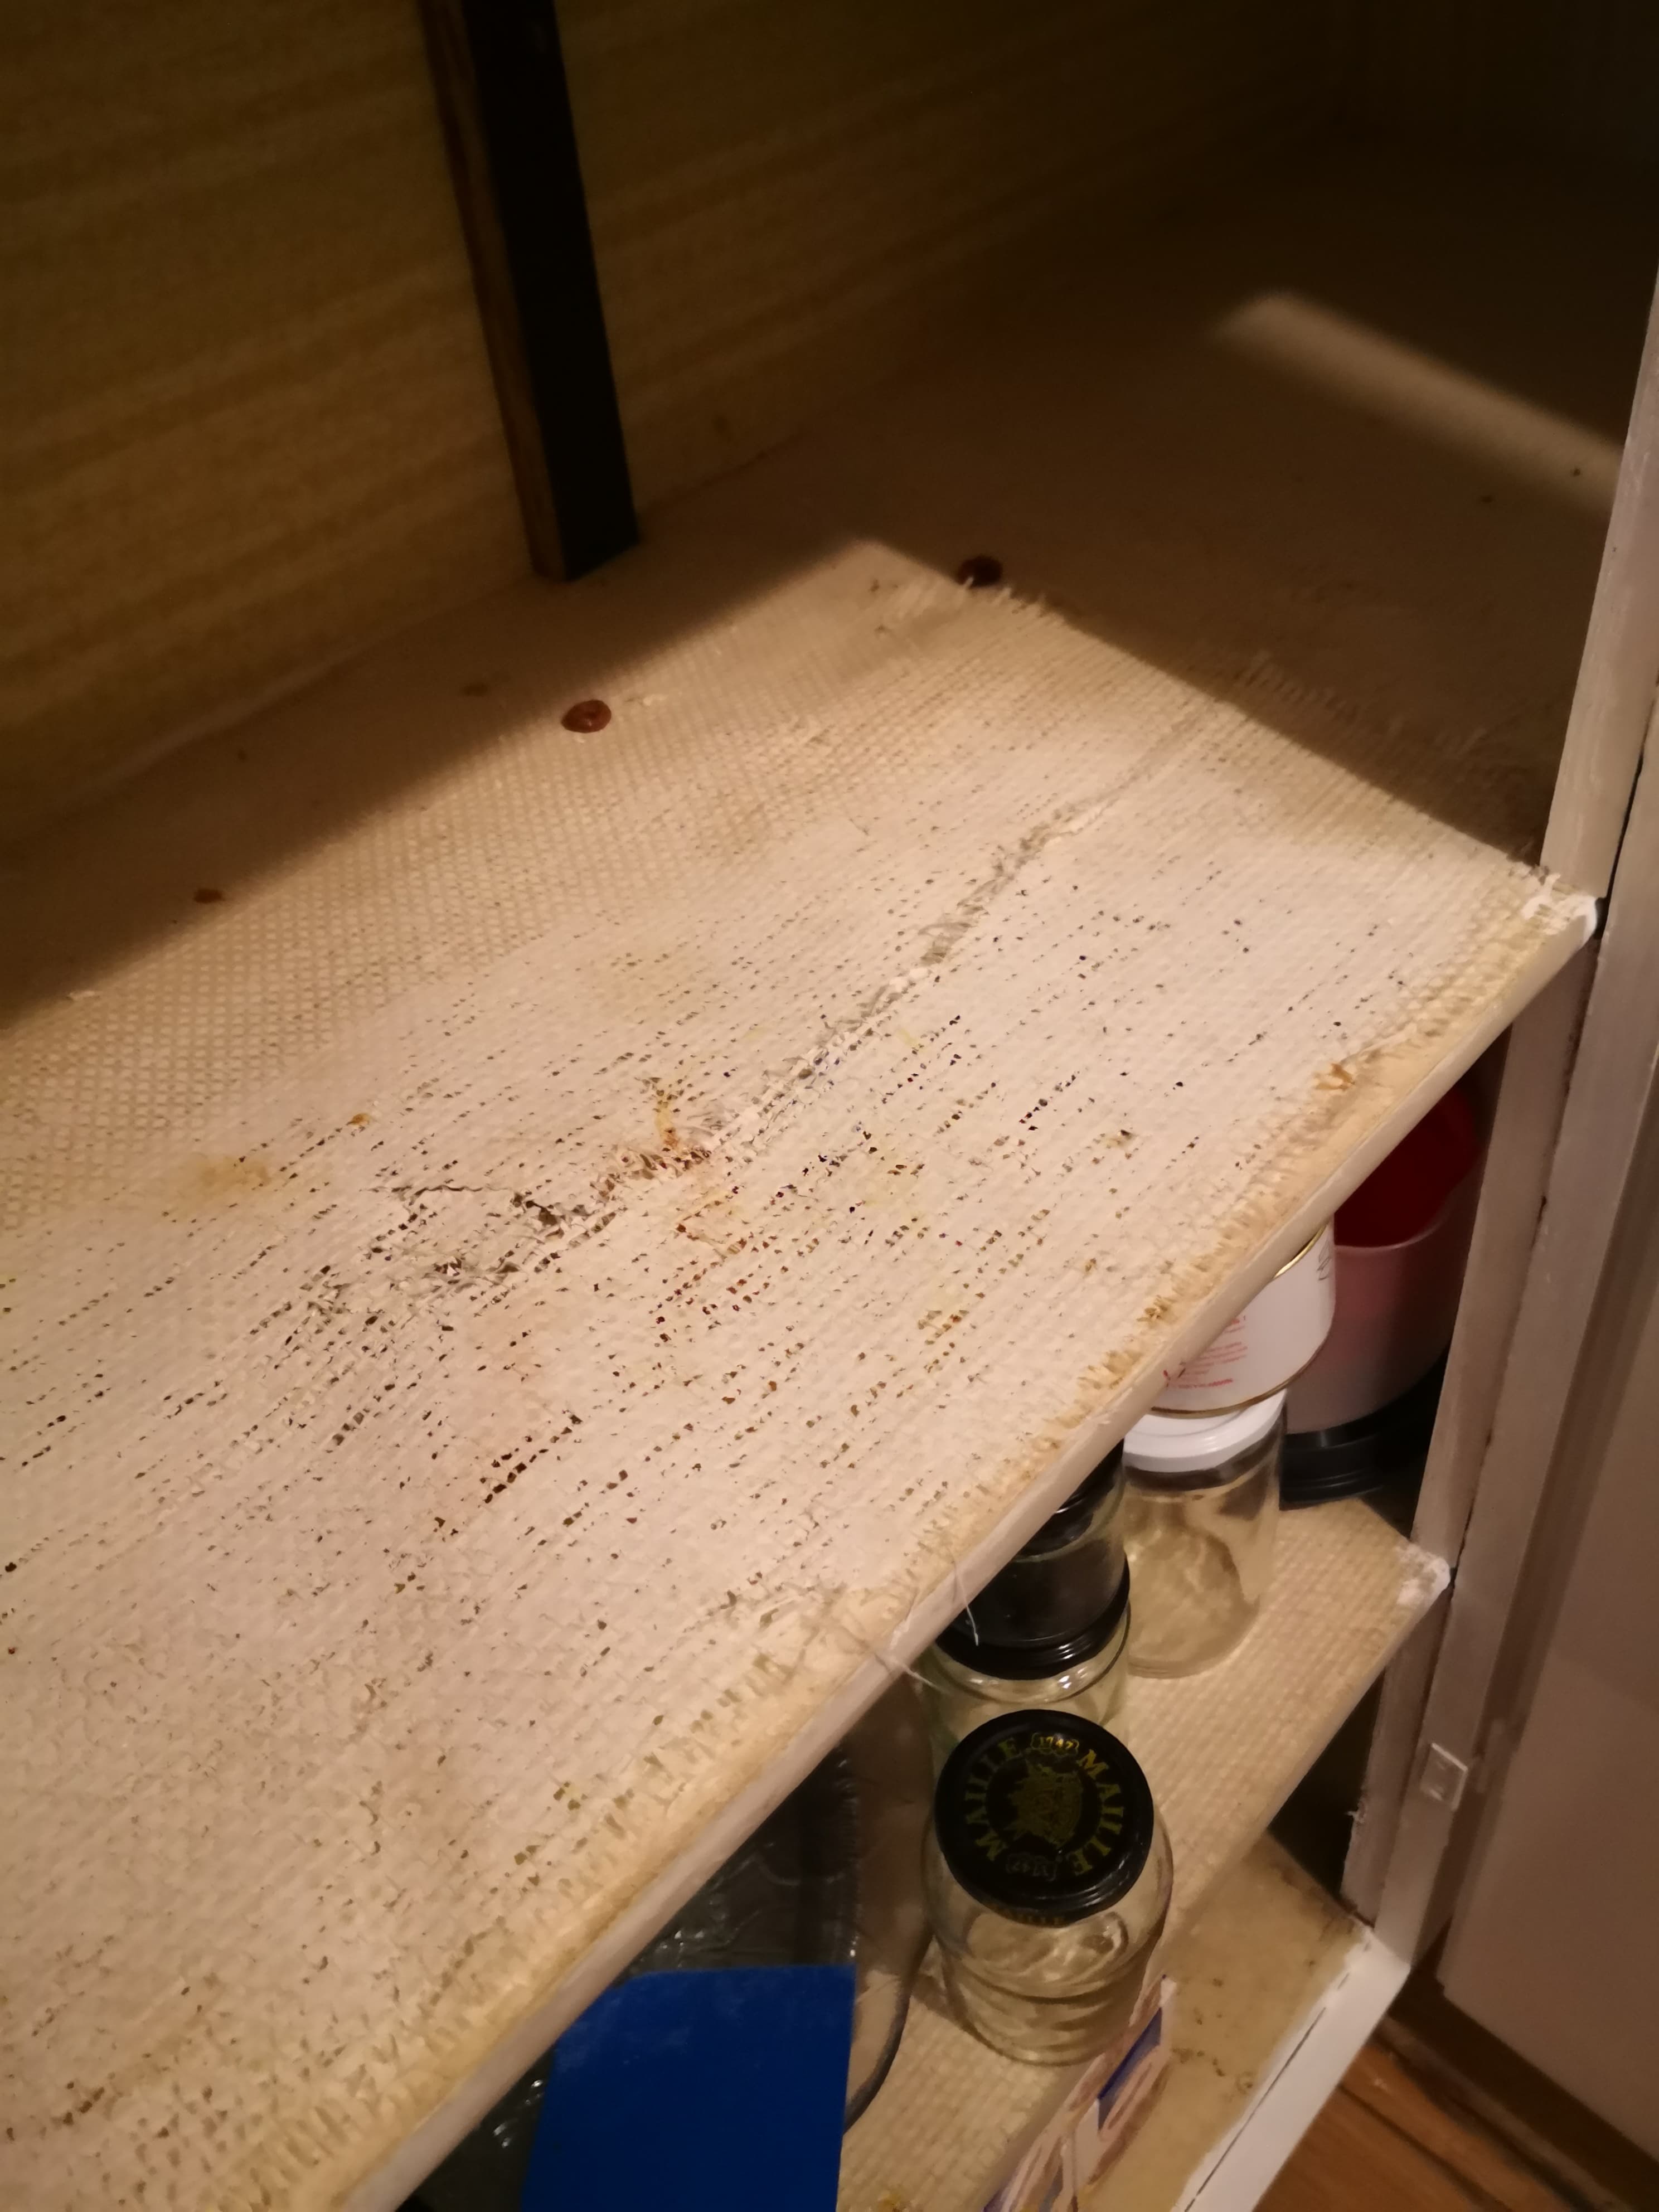
Pantry before – I kid you not 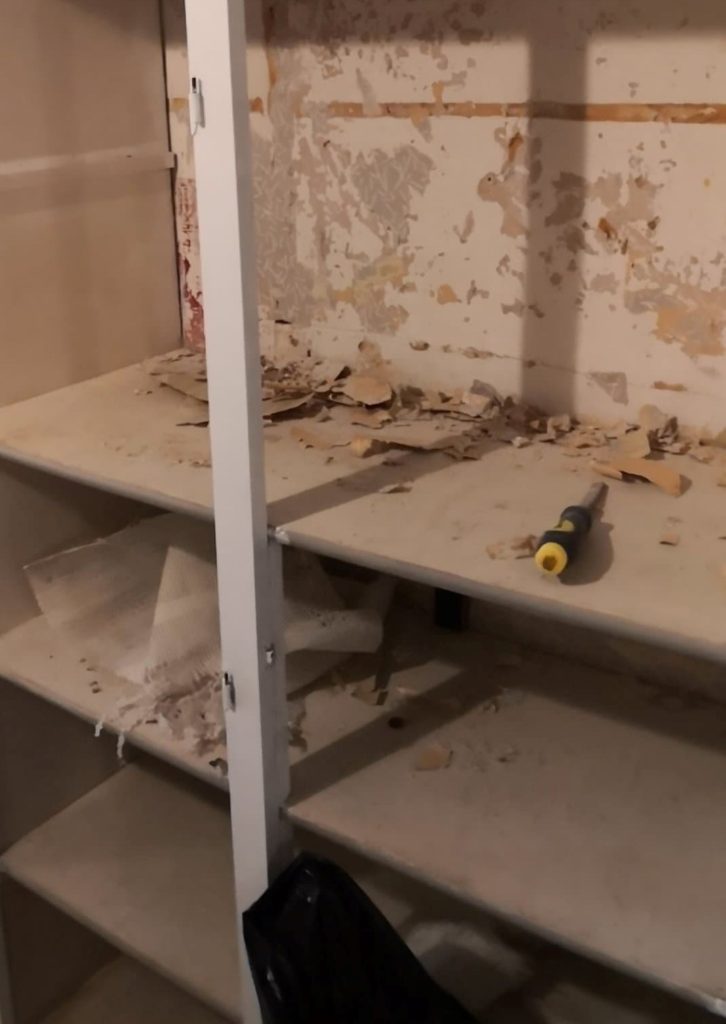
A little elbow grease (well, a lot actually) 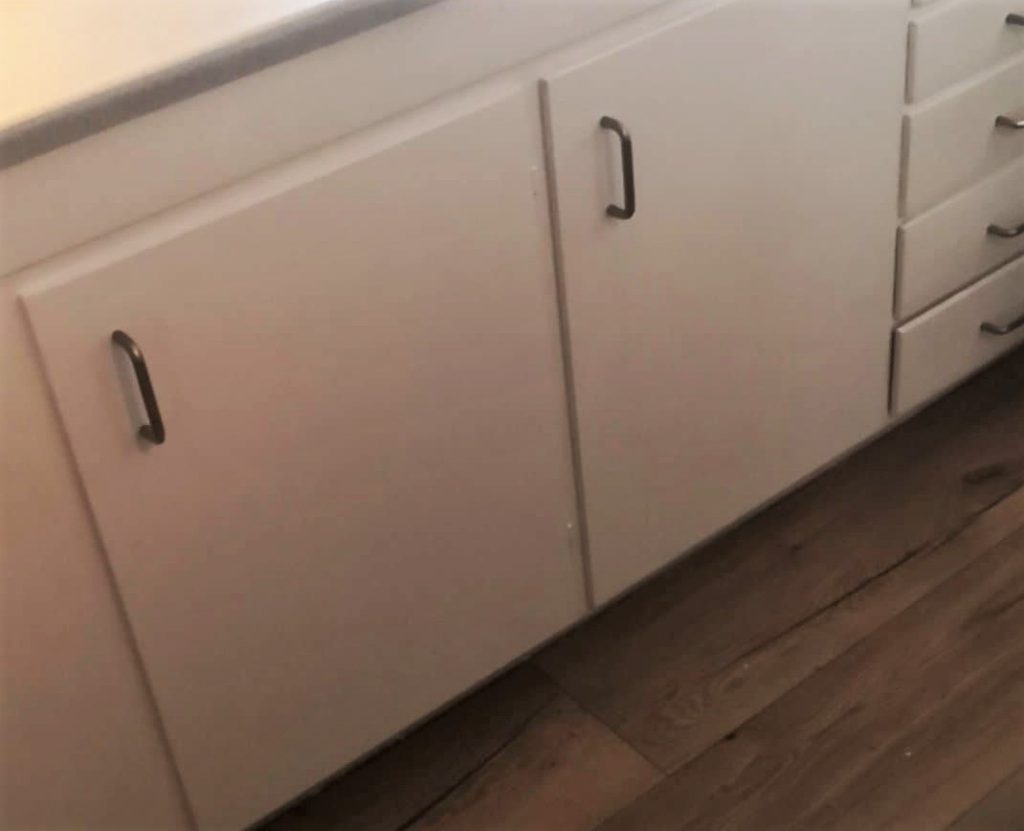
Everything got a lick of paint 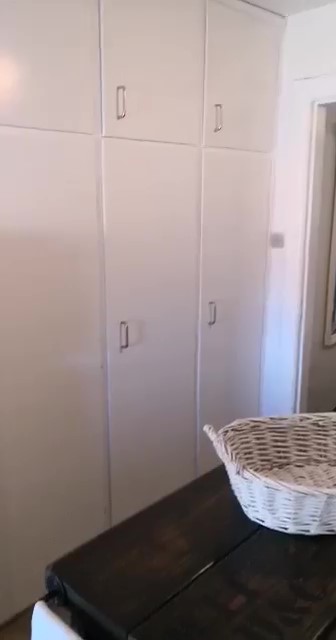
And I mean everything 
Some new shelves
The nitty gritty of it
I sanded everything and gave it a lick of paint, including the old kitchen cabinetry, so everything would match. The plywood got a layer of sealant, so the moisture from the tile glue wouldn’t make it soggy. Then came the oh so very satisfying braking of tiles. If you ever take these kind of project on, just savor the moment of taking a hammer to fresh, white, shiny tiles. I certainly did. Just remember to wear protective goggles and maybe put some type of cloth on top, or else you will have fragments flying all over the place.
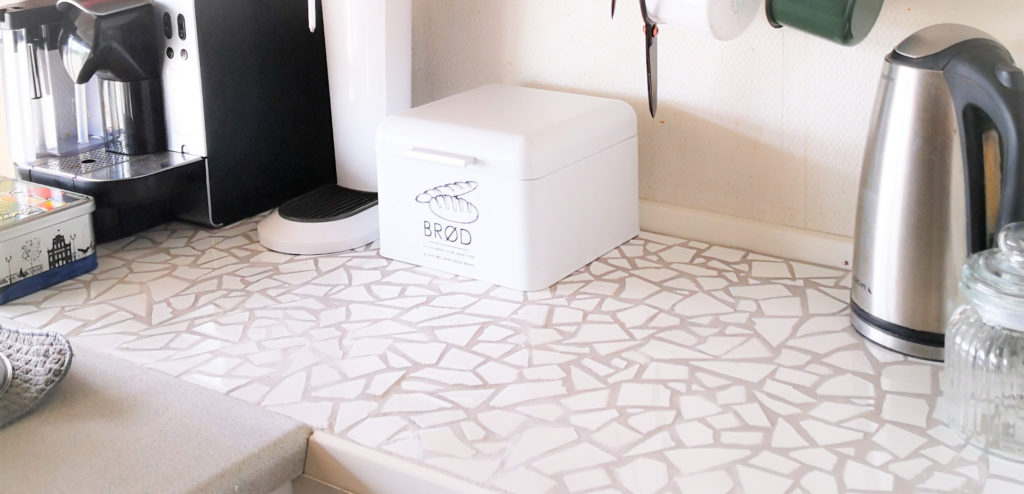
Then I mixed the tile glue and laid my tiles. I found doing smaller areas at a time was best because otherwise the glue would dry out in places. Laying mosaic is quite time consuming, but it was worth it in the end. Let it dry for a day or two and then I just mixed the mortar after the specifications. I found using a sponge was the best method for applying the mortar, it’s more forgiving to a layperson. Mosaics are a bit tricky to get in flat and clean every time, at least for first timers like me, so a sponge and a little labor to get the countertops semi presentable. Let everything dry off and had myself a cup of coffee, I deserved it, if I do say so myself.
